How to Diagnose Brake Vibration at Home
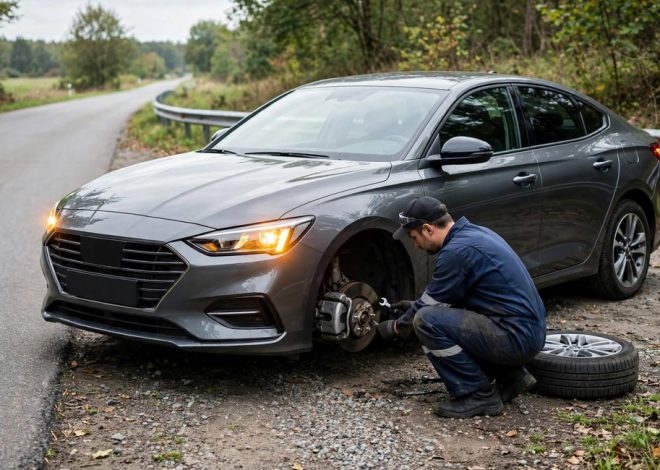
You can diagnose brake vibration at home through careful observation and simple visual checks alone. First, note where you feel the shaking, when it begins, and what sounds accompany it. Then, those recorded clues help you explain the symptom pattern clearly to a mechanic later.
For example, follow this ordered routine whenever your car shakes when braking during normal daily stops. Also, work through feel, sound, and sight stages in order without skipping any stage. Finally, stop the routine immediately if braking ever feels unsafe or stopping power drops noticeably.
However, never road test a car with obviously failed brakes or severely reduced stopping power. Instead, park the car safely and arrange professional help without driving it anywhere first.
Step One: Feel Where the Vibration Occurs
First, pay close attention to where your body senses the vibration most strongly. For example, steering wheel shaking during braking usually points toward the front brakes. In contrast, pedal pulsation or seat vibration often points toward the rear brakes.
Also, note whether both hands and your foot feel the vibration together. Next, compare light stops around town with firmer stops from higher speeds. Then, write down each difference immediately after you park the car safely. In practice, you diagnose brake vibration at home by elimination first.
Step Two: Observe When the Shaking Starts
First, record the road speed where the shaking first appears during braking. Also, note whether light pedal pressure or firm pressure changes the shaking strength. However, shaking that continues without braking suggests a tire or wheel problem.
Next, listen carefully for squealing, grinding, or scraping sounds during each stop. For example, grinding often signals badly worn pads that need urgent professional attention. Finally, note whether heat, long drives, or repeated stops make symptoms worse. That routine helps you diagnose brake vibration at home without special tools.
Step Three: Diagnose Brake Vibration From Visible Rotor Conditions
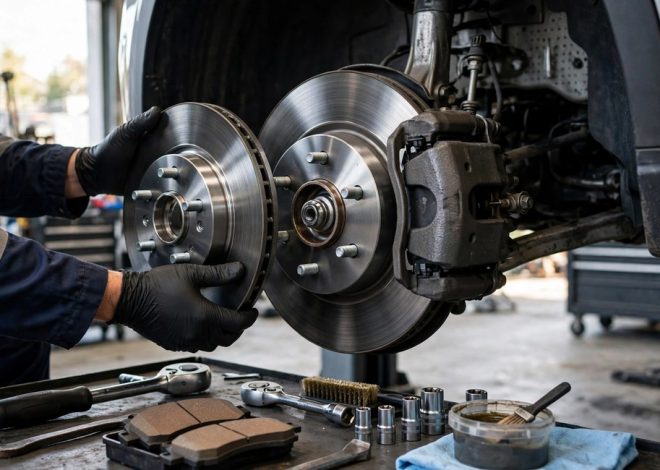
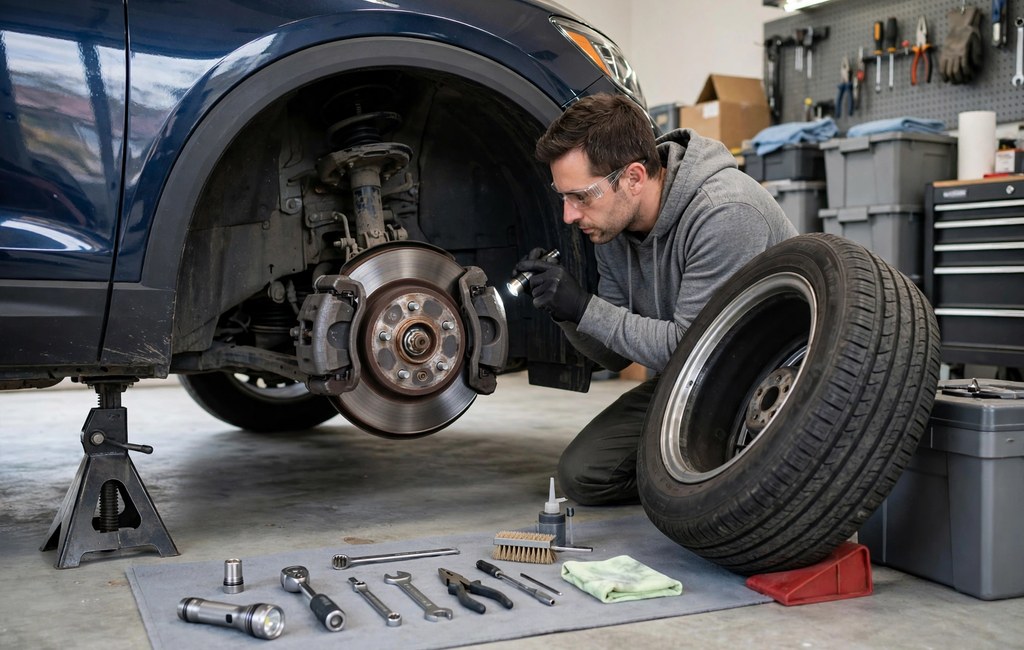
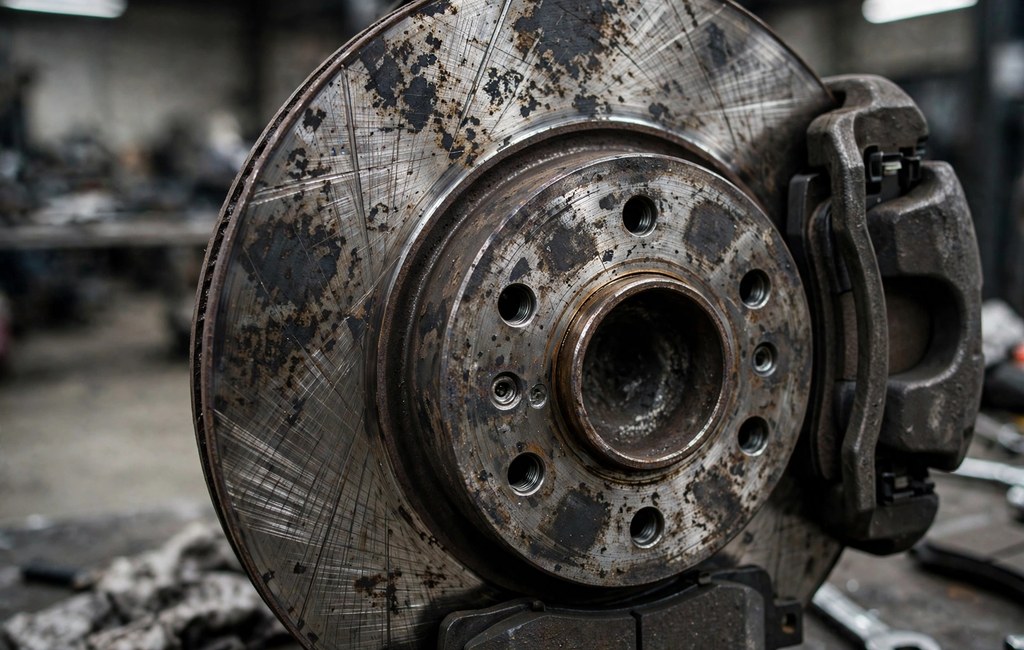
First, park on level ground and look through the wheel spokes safely. Also, shine a bright light across each visible rotor face before judging it. Then, compare both front rotors because uneven appearance often reveals the troubled side.
- Dark patches: Also, these marks often show uneven pad deposits on the rotor.
- Blue spots: Next, these colors suggest the rotor endured excessive heat during braking.
- Deep grooves: Then, these lines usually mean worn pads damaged the rotor surface.
- Heavy rust: Finally, thick corrosion near edges can distort smooth pad contact overall.
However, never work under a car supported only by a jack. Instead, use rated jack stands on a level surface for any inspection. Over several drives, you diagnose brake vibration at home more confidently.
Step Four: Diagnose Brake Vibration Through Pad Wear at Home
First, look through the caliper opening and estimate visible pad thickness carefully. Also, compare inner and outer pads because uneven wear signals sticking parts. Next, compare left and right sides for obvious thickness differences as well.
For example, one thin pad beside one thick pad suggests uneven caliper movement. However, limited sight lines hide many pads completely on some wheel designs. Therefore, record only what you actually see and avoid guessing hidden conditions. Simply put, careful notes help you diagnose brake vibration at home accurately.
Step Five: Diagnose Brake Vibration From Tires at Home
First, walk around the car and inspect every tire sidewall and tread. Also, look for bulges, cuts, cracks, or objects lodged in tread. Next, check each wheel for bent rims, cracks, or missing wheel weights.
For example, uneven tread wear across one tire can amplify braking vibration noticeably. Also, verify that every lug nut sits in place on each wheel. Finally, note any damage clearly because tire faults can mimic brake faults.
Step Six: What a Home Check Cannot Diagnose About Brake Vibration
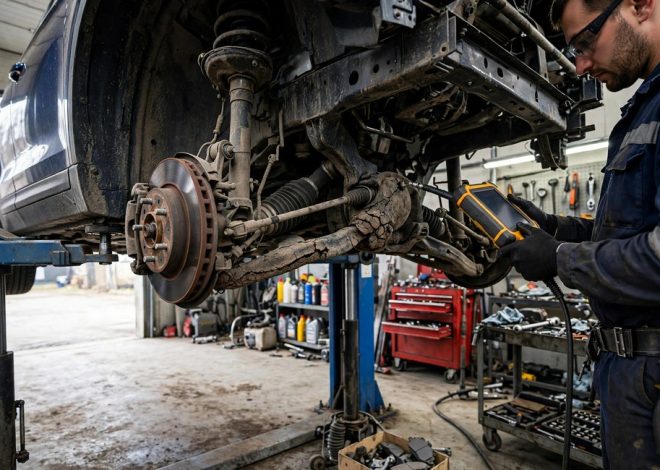
First, understand that eyes alone cannot measure rotor thickness variation or runout. Also, tiny thickness differences create strong pulsation yet remain completely invisible to you. However, mechanics measure those values precisely with a micrometer and dial indicator.
Next, home checks cannot confirm hidden caliper seizure or internal brake wear. Also, you cannot judge bearing play or suspension looseness reliably without lifting equipment. Therefore, treat home findings as useful clues and never as final proof.
Step Seven: Know When to Arrange Professional Brake Diagnostics
First, arrange professional diagnostics immediately when grinding, scraping, or severe shaking appears. Also, book help quickly when stopping distances grow or the pedal feels strange. However, never road test a car again when brakes obviously fail any check.
Next, share your written notes about location, speed, pressure, sounds, and sightings. Then, those details help the mechanic test likely causes before replacing parts. Finally, ask the mechanic to confirm rotor condition with proper measurements first.
Frequently Asked Questions
Can I diagnose brake vibration without removing the wheel?
First, you can observe symptoms and inspect visible parts through many wheel spokes.
Why does my steering wheel shake when I brake?
For example, front rotor unevenness usually causes shaking because steering parts transmit vibration directly.
Can brake vibration go away on its own?
However, vibration rarely disappears alone because uneven parts keep worsening during braking.
Is it safe to drive with shaking brakes?
Also, mild shaking still needs prompt inspection because braking faults can worsen very quickly.
What should I tell my mechanic about brake vibration?
Next, share the speed, location, pressure, sounds, and visible damage you recorded.
Conclusion
Overall, this careful routine also turns confusing shaking into clear diagnostic notes. First, you feel the location, note the timing, and inspect visible parts. Then, you respect the limits of eyesight and involve professional measurement tools.
Therefore, start your observation routine during your next safe drive this week. Also, write every observation down before you forget important symptom details later. Finally, book professional brake diagnostics promptly if any safety warning sign appears.