How to Install a Car Lift in a Residential Garage: Step-by-Step Guide
Overall, you can install a car lift in a residential garage safely and methodically. First, you verify concrete, ceiling height, and electrical capacity before you lift any steel. Then you assemble, anchor, wire, level, and test the lift in strict sequence.
Additionally, this guide walks you through each stage from layout to final safety checks. Meanwhile, our car lift for garage covers lift types, space needs, and buying decisions. Finally, you also learn exactly when professional installation protects you and your vehicle better. Therefore, read every step fully before you order tools or drill any holes.
Check Concrete, Ceiling, and Layout Before You Install a Car Lift
Verify Concrete Strength and Thickness
First, you confirm the slab measures at least four inches thick throughout the bay. Next, you require 3,000 PSI concrete and you allow full curing before drilling. Crucially, you never position posts over control joints, cracks, or in-floor heat lines.
Measure Ceiling Height and Bay Space
First, you measure from the finished floor to the lowest ceiling obstruction carefully. Then you compare that total against ceiling height for a car lift for your model. Also, you add vehicle height plus full lift travel plus a safety margin.
Gather Tools, Materials, and Your Crew
First, you gather every tool before delivery so assembly never stalls mid-lift awkwardly. Similarly, you recruit two or three strong helpers plus an engine hoist.
- Rotary hammer drill: This tool bores clean anchor holes through cured concrete fast.
- Torque wrench: This wrench tightens every anchor bolt precisely to maker specification.
- Long level and chalk line: These tools mark square layouts and confirm plumb columns.
- Shims and sockets: These supplies correct small floor slopes and drive large fasteners.
- Safety gear: Gloves, glasses, and steel toe boots protect every crew member daily.
Unpack, Inspect, and Lay Out All Components
First, you unpack every carton and you check each part against the packing list. Next, you inspect columns, carriages, arms, cables, and hoses for shipping damage carefully. Then you stage heavy parts near final positions and you keep walkways completely clear.
Assemble Columns and Runways Step by Step
Build Columns or Runways on the Ground
First, you assemble carriages, cylinders, and arm assemblies while columns lie flat safely. For four post models, you join runways, ramps, and crossbars loosely on the floor. Additionally, you follow the manual order exactly and you never skip any fasteners.
Raise and Position Each Unit
Next, your crew raises each column slowly with the hoist controlling every movement. Then one helper steadies each column while another helper starts the anchor bolts loosely. Finally, you check diagonal measurements twice and you confirm the layout stays perfectly square.
Anchor the Car Lift and Torque Every Bolt
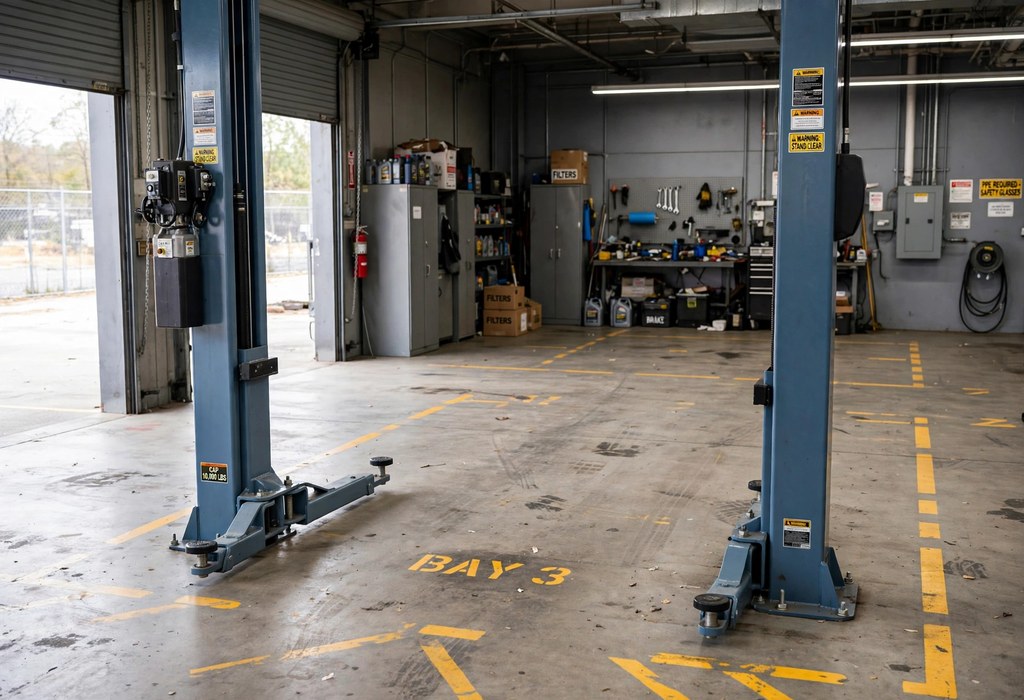
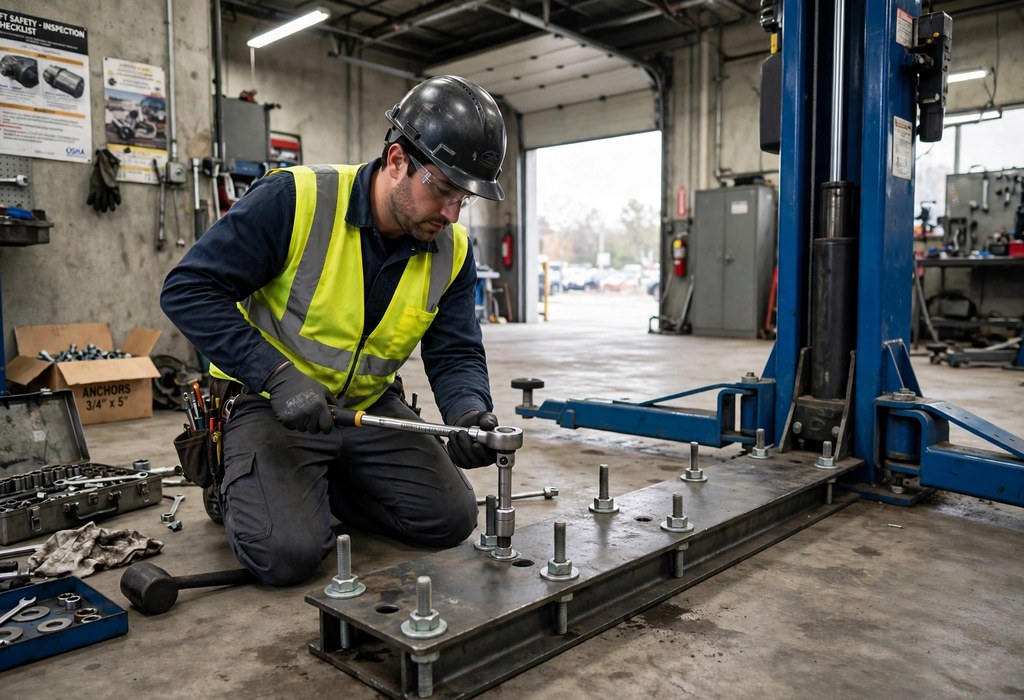
First, you drill each anchor hole to the depth and diameter the manual specifies. Next, you blow out dust, you brush each hole, and you seat every anchor fully. Then you plumb each column with shims and you torque bolts to maker specification.
Route the Crossbar, Cables, and Hydraulic Lines
First, you install the overhead crossbar or crossbeam and you secure every connector firmly. Next, you route equalizer cables over the correct pulleys without twists or kinks. Also, you route hydraulic hoses away from sharp edges and moving carriage paths.
Connect the Power Unit and Fill the Hydraulics
First, you mount the power unit on the designated column per the manual diagram. Next, you connect every hydraulic line and you tighten each fitting snugly by hand first. Then you fill the reservoir with the specified hydraulic fluid to the marked level.
Hook Up Electrical Power Safely
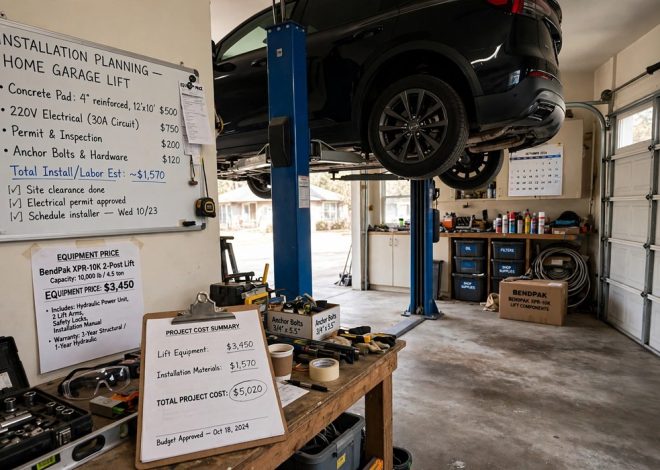
First, most full size lifts need a dedicated 220V circuit with proper breaker protection. Therefore, you hire a licensed electrician whenever wiring or code rules feel unfamiliar. Also, you never use extension cords and you test the disconnect switch before cycling.
Level, Synchronize, and Bleed the System
First, you recheck plumb on both faces and you adjust shims until columns stand true. Next, you adjust equalizer cable tension evenly so both carriages rise perfectly together. Then you bleed trapped air by cycling the lift slowly through several full strokes.
Run Test Cycles on Your Installed Car Lift
First, you cycle the empty lift fully and you listen for binding, leaks, or noise. Next, our garage car lift safety tips explain lock engagement, capacity ratings, and inspection habits. Then you raise a vehicle slightly, you check balance, and you lower it again.
Additionally, you confirm safety locks engage together evenly at every locking position. Finally, ALI certification sets the safety standard and you follow its inspection guidance thereafter.
Know When to Hire a Professional Installer
However, you hire professionals when concrete fails checks or ceiling clearance falls short. Similarly, you hire experts when electrical upgrades, permits, or structural repairs complicate the job. Ultimately, professional crews bring heavy equipment, proven anchoring experience, and insured installation accountability.
Frequently Asked Questions
How thick does concrete need to be for a car lift?
Typically, two post lifts need concrete at least four inches thick and fully cured.
How much ceiling height do I need for a car lift?
Generally, you need vehicle height plus lift height plus extra clearance above everything.
Can I install a car lift in my garage myself?
Yes, skilled owners install lifts successfully with strong helpers, proper tools, and patience.
What electrical circuit does a garage car lift need?
Most full size lifts need a dedicated 220V circuit that a licensed electrician installs.
How do I know if a car lift is safe?
Look for ALI certification, working safety locks, balanced lifting, and clean inspection results.
Conclusion
In conclusion, careful preparation and patient assembly turn installation into a manageable project. Therefore, work through each step in order and never rush anchoring or testing. Start today by measuring your slab and ceiling, then schedule your installation with confidence.